Merch Informer Designer Patterns Added – One Click Merch Patterns
Merch Informer Designer Patterns Added – One Click Merch Patterns
One of the requests we have been receiving lately is adding an EASY way to create patterns in Merch Designs.
Over the last year or so, we have been creating a lot of pattern designs especially for Popsockets that have been working INCREDIBLY well (few hundred sales a month). What bottle necked us though, was that to design these, we had to copy and paste the same layer over and over again and re position those layers so that everything looked right before we could download and upload the design to Merch by Amazon.
For both of those reasons (requests and need to make this easier), today we have released an update to the Merch Informer designer to allow you to create patterns with a single click of a button with any of your design elements!
If you are more of a video watcher, watch this video that we just released that explains how it works.
[embedded content]
For everyone else, follow along! If you do not have a Merch Informer account, you can follow this tutorial after grabbing a 3 day free trial here: https://merchinformer.com/pricing/.
Let’s begin!
Step 1: Log In to Merch Informer
The first step is to obviously have a Merch Informer account. Once you have one, log in and go to the designer in the upper menu here:

Once you click that, you will be prompted to log in to the Merch Designer. Log in with your Merch Informer credentials.
Step 2: Select Your Product
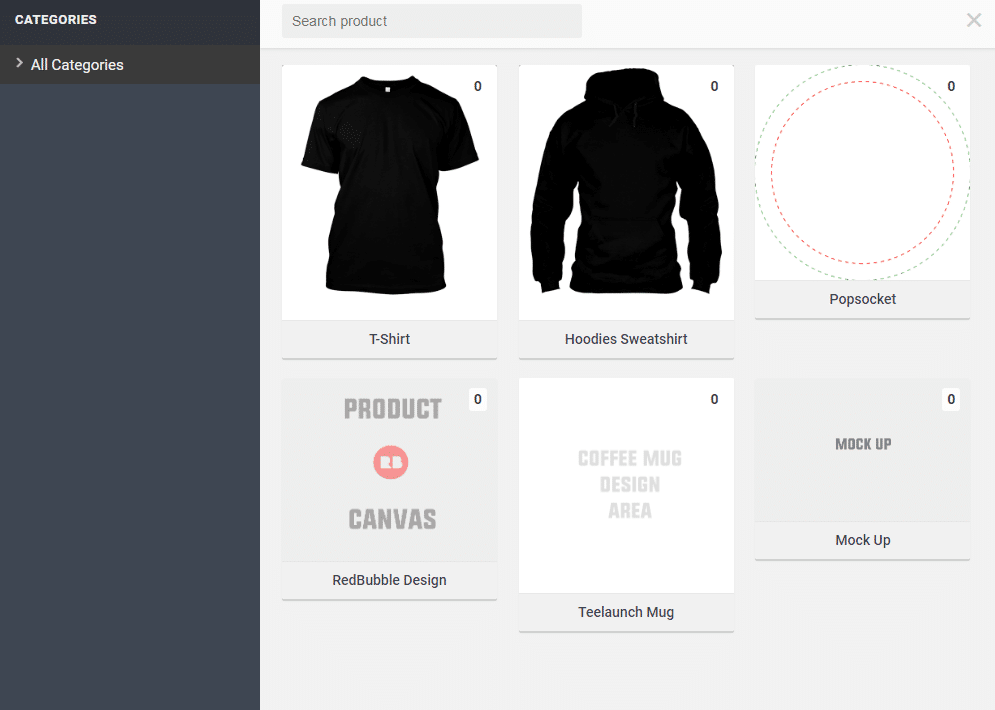
The patterns will work on any product that you select but for this example, we are going to use the PopSocket. This will export the design in the correct dimensions for Merch by Amazon and look pretty good (they sell awesome as well!).
Select Popsockets, and your screen will now look like this:
![]()
Step 3: Give Your PopSocket A Background Color
For this to look good, and to follow the Merch by Amazon recommendations, your PopSocket should not have a transparent background.
To add a background, go into shapes in the left hand menu:
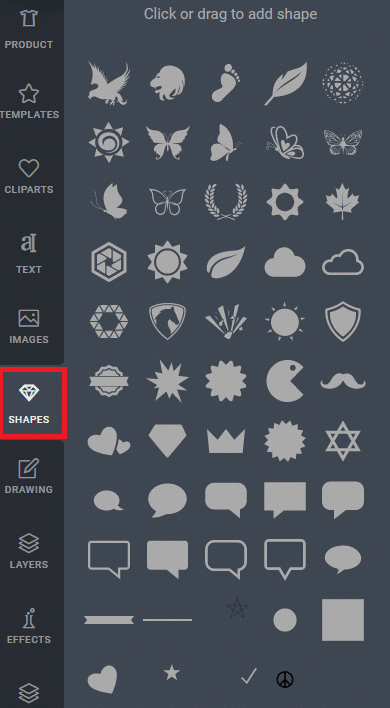
Select the circle shape near the bottom and add it to your design!
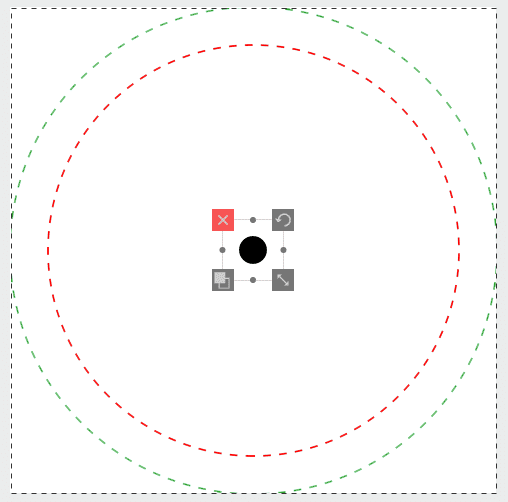
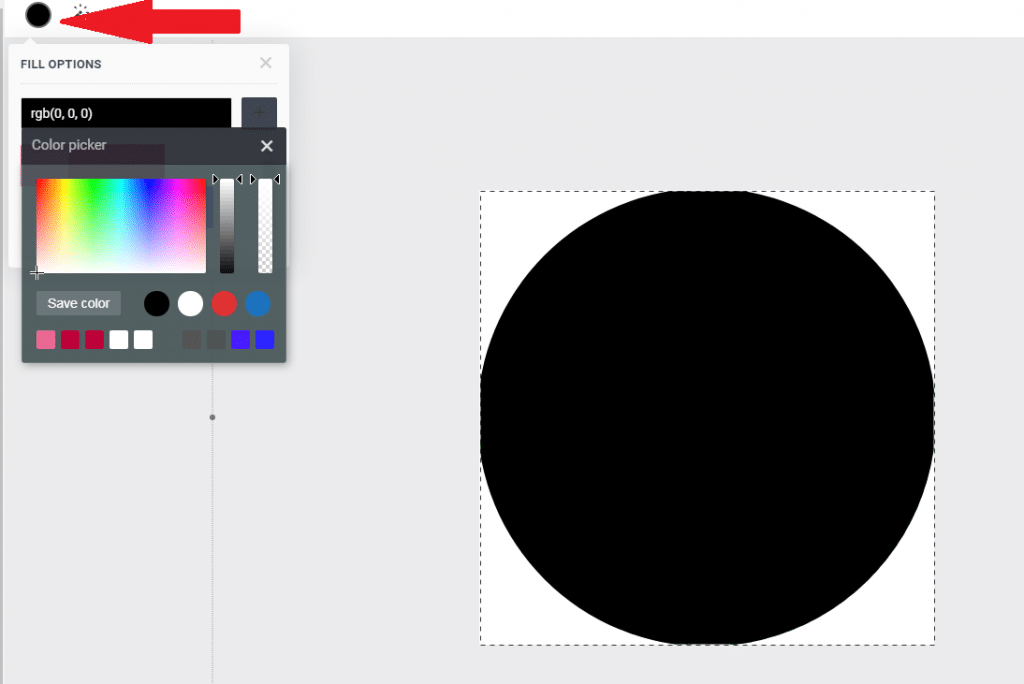
Drag the circle shape out to the edges of the PopSocket. This should go to about the green circle so that the entire design has a black background. If you want to change the color of the circle, click on the color selector near the top once the layer is selected:
Step 4: Add A Design Element To Turn Into A Pattern
Now that we have a background set up on our PopSocket, it is time to actually add an element that we will turn into the pattern.
Find your design element, go to your images tab in the left hand menu of the Merch designer, and drag and drop your element in. This will upload it to the software.
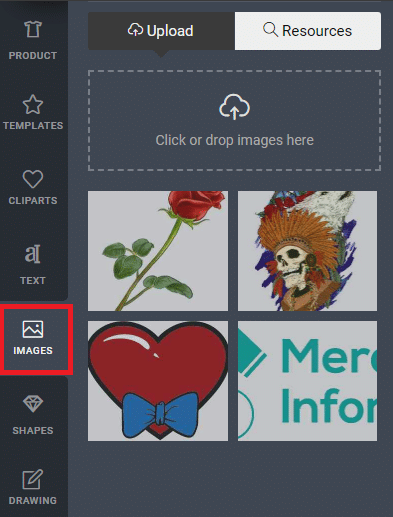
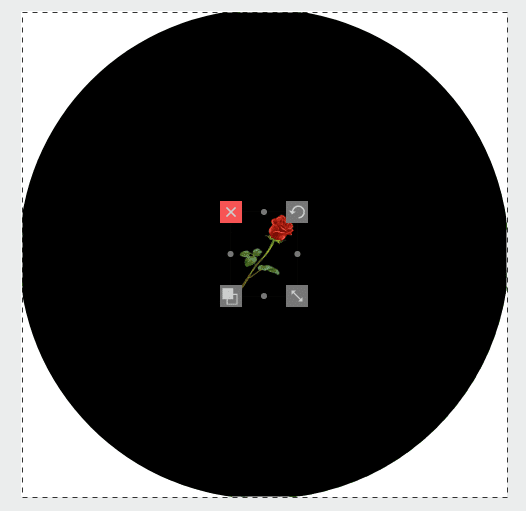
Once you have it uploaded, click on the image and it will add it to your design. In this case, we are using a rose.
Before you create your pattern, resize the image on your design till you get a size that you like:
Step 5: Create Your Pattern
Now that you have your design element on your design and the LAYER IS SELECTED, you are ready to create your pattern!
With the layer selected, go up into the right hand corner and click on the pattern box:

This will give you different pattern options that you can use:
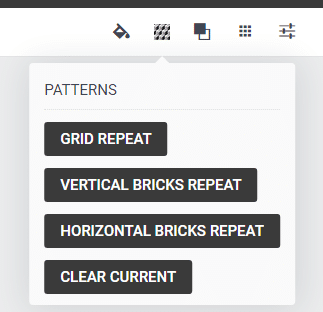
Select one, and let the software do its magic! I prefer the vertical bricks repeat myself, but feel free to try everything out, spin your image around to different directions and test it out some more!

NOTE: Remember that we used a background black circle for the area that will print on the PopSocket. Nothing in white will actually show up once you upload to Merch by Amazon!
Step 6: Upload to Merch
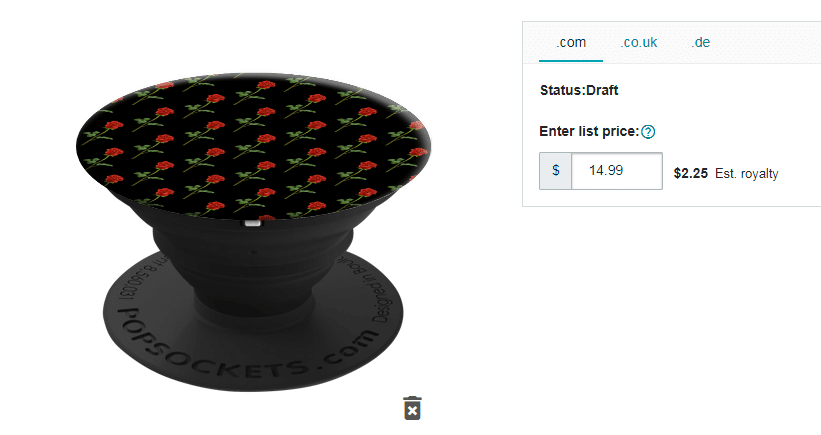
Now, you simply download your product and upload it to Merch by Amazon.
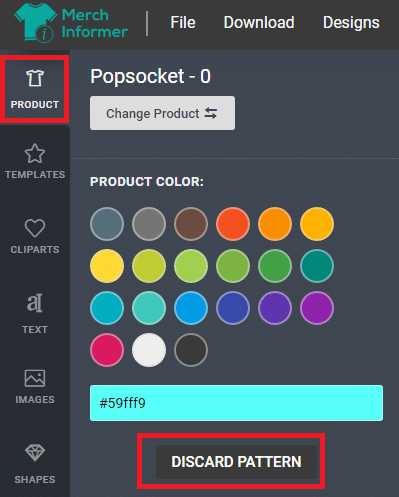
If you would like to remove the pattern, all you have to do is select the product tab in the left hand menu inside of the Merch Designer and click on the discard pattern button!
Wrapping It Up
Patterns are one of the easiest designs you can create for Pops that ACTUALLY sell. All you have to do is create your own with a button click and some unique artwork and you will have yourself a winner!
If you have any questions, drop them in the comments below. Otherwise, have fun uploading your new patterns on Merch!